Windows Azure Pack – Dedicated SQL offering (Part 2)
In the part one of this series, we have gone through the step by step instructions of installing and configuring Windows Azure Pack portal and api express on an Azure virtual machine. You can read through the part one of this series here.
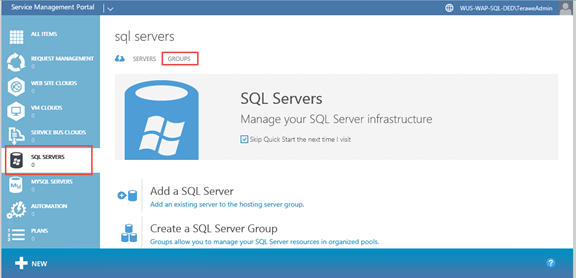
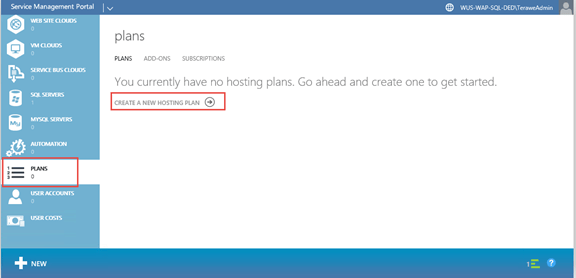
In this post, we will go through creating plan and add-on that will enable us to assign a single server to a single subscription. This is the high level approach.
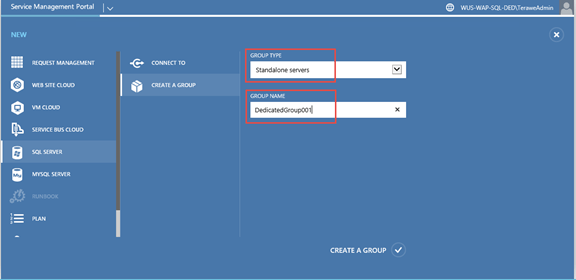
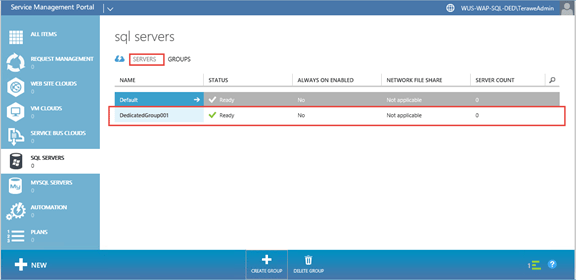
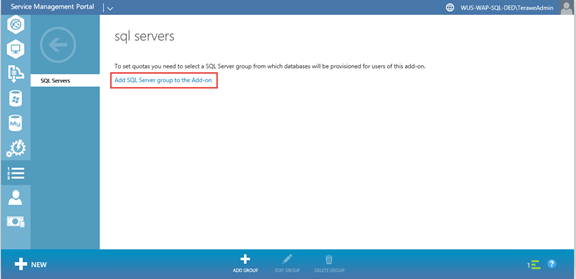
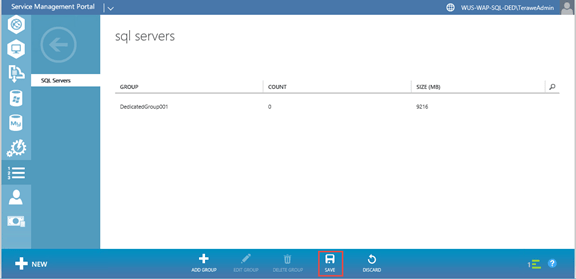
- Add a new group for the dedicated server. Only this dedicated server will be available in this group.
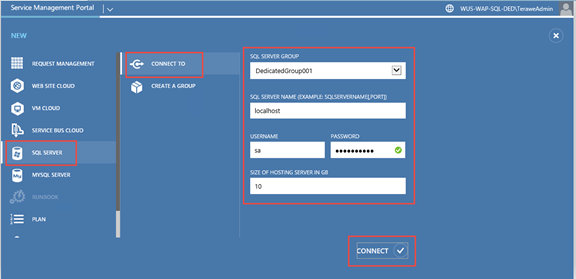
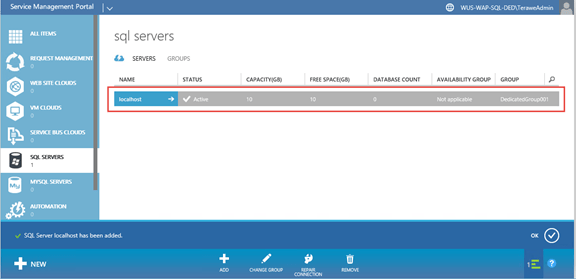
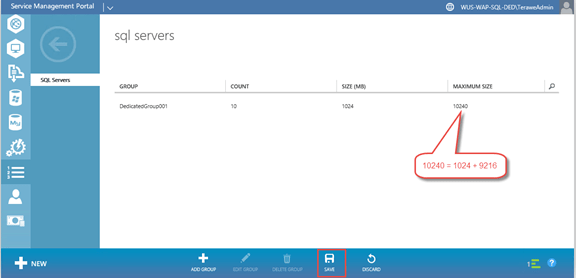
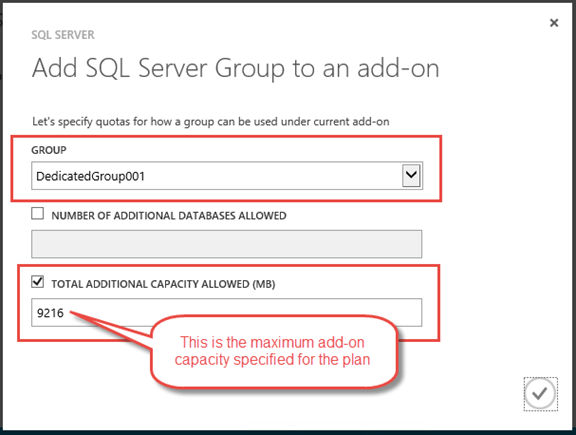
- Add a new SQL server and assign it to the group we created above. Let us assume that this server can support up-to 10GB of data files. And we want to provide 1GB as the minimum database size. With this configuration, tenant can create one 10GB database or ten 1GB databases. Tenant can create a database and can increase the size of database, based on remaining space available on the server (made available through add-on).
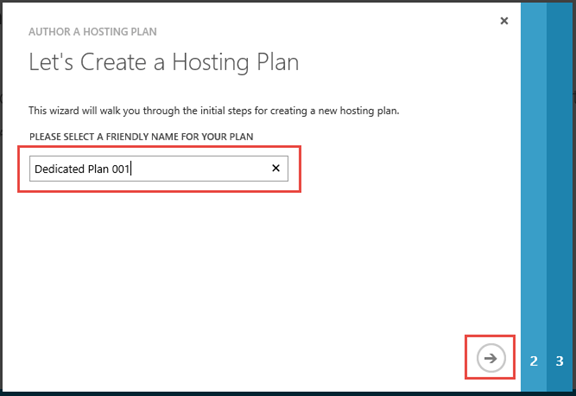
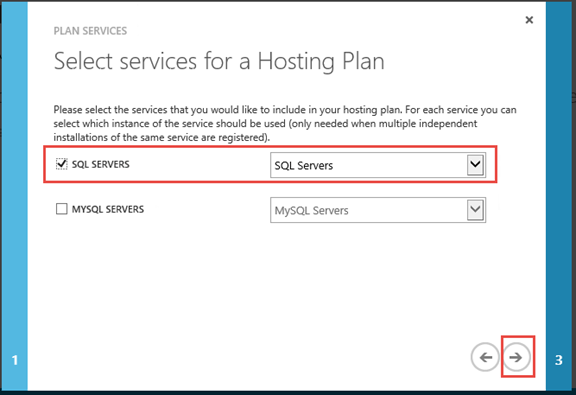
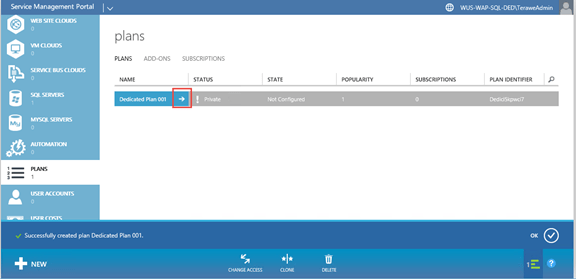
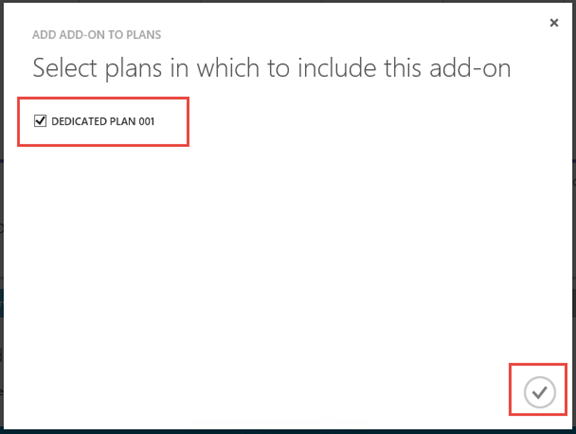
- Now create a new plan. During plan quota configuration, add the group created about. Also, keep the base size as 1GB and allow add-on size of up-to 9GB.
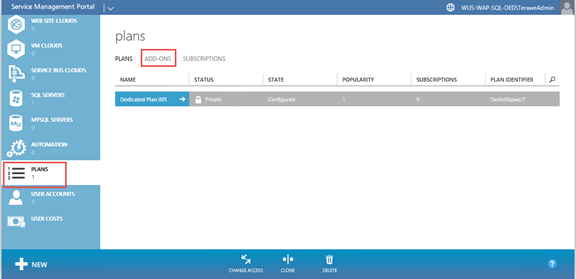
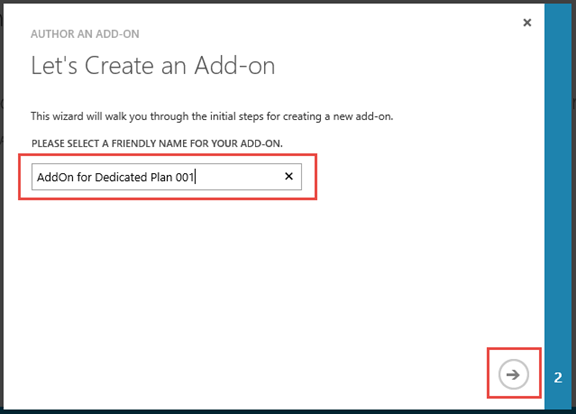
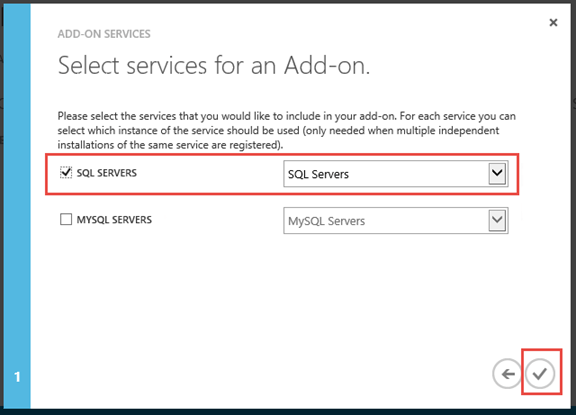
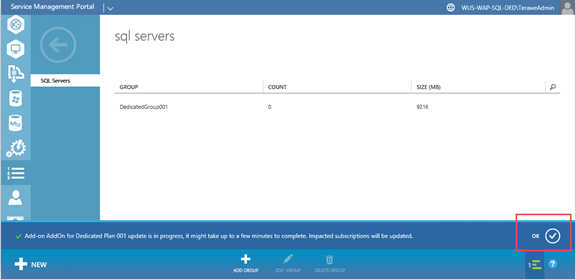
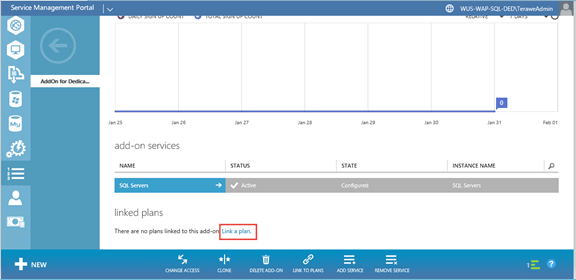
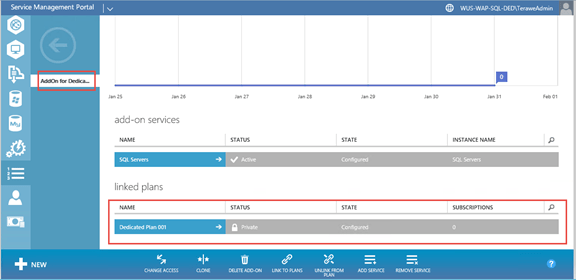
- Create a new add-on and allow tenants to extend capacity by up-to 9GB. Link this plan & add-on.
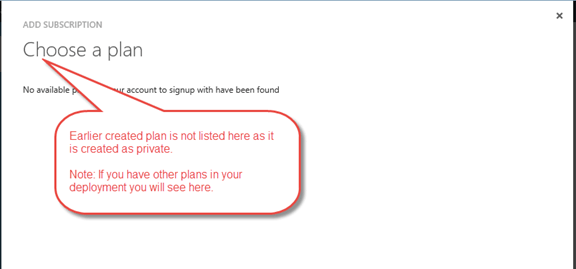
- Remember, plan and add-on are kept private, so that users can’t sign up for this plan. In the next blog post, I will walk through how to assign the plan & add-on to the user (even though it is private).
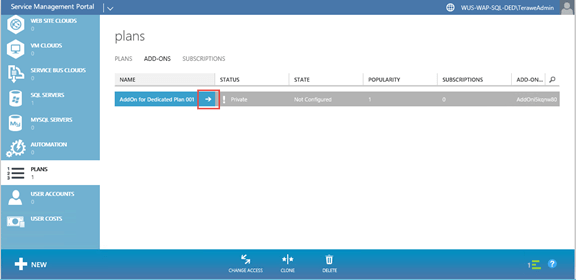
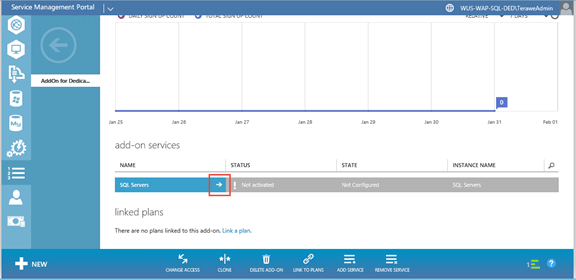
Step 5: Create Group, Server, Plan and Add-On


Step 6: Create a new tenant (for test purpose)

You can read through the third part in this series here. This part has the PowerShell script that can be used to assign the private plan and add-on to the tenant.
Posted on 2015/02/09, in Cloud-OS, SQL Server and tagged SQL Server, Windows Azure Pack. Bookmark the permalink. 1 Comment.

Pingback: Windows Azure Pack – Dedicated SQL offering (Part 3) | Imagine - Experiment - Realize